Baby Quilt – Quilt Along Video #2
- Place all the blocks on your Design Wall and if you’re going for the Ombre look be sure to place the darker fabrics at the top.
- Label the first block on each row 1 – 9 and label every other row with the word “UP” to remind you to press the seams up on those rows and down on the ones not labeled “up”.
- Start with Row 1 and make sure the grain of fabric is in the same direction on each square (repeat on all the rows).
- Sew the blocks together, place block 2 to block one right sides facing each other and sew with a 1/4″ seam. Repeat on all blocks. In the video I pinned in the entire first row … but I do not pin them normally (if you are beginner … pin them!).
Special note: I used my Brother sewing machine for those of you that wanted to see how it works.
To make the Baby Quilt you will need the following:
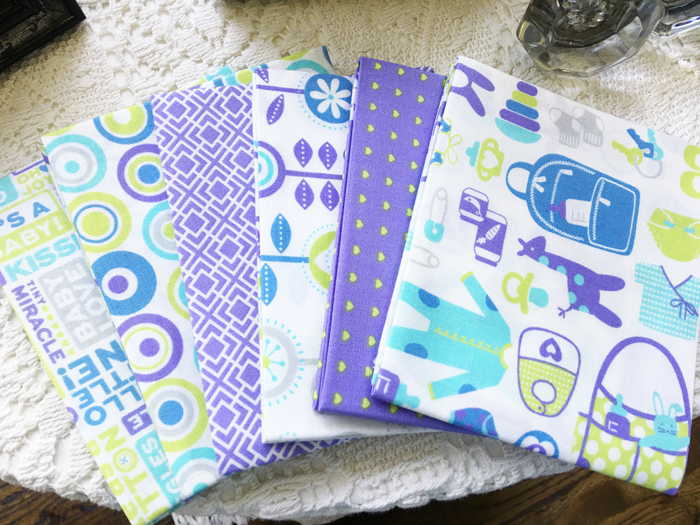
- Layer Cake or Fat Quarters with 6 Patterns
- If you use a Layer Cake … you want one that has two of each pattern
- 1 Charm Pack (solid color that coordinates) I’ll be using White
- Backing Fabric – 2-1/2 yards
- Binding Fabric – 1/3 yard
- Matching Thread
- I will have my quilt finished by my longarm quilter and she provides the batting.
- Basic Sewing supplies (scissors, sewing machine, etc)
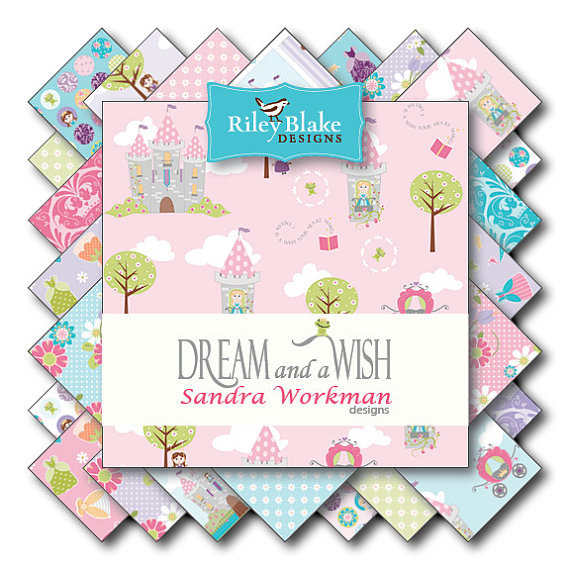
The Fabric I’m using is Dream and a Wish Sandra Workman Designs by Riley Blake.
Here’s some more info about the Baby Quilt
- Measures 40 x 40
- Total 81 Blocks
- Blocks measure 5 x 5
- Quilt is: 9 Blocks Across and 9 Blocks Down
See ya!
Join our Chic n Scratch Quilt Along Facebook Group to participate in our Quilt Alongs.